Good organization is a way to keep your trading world well-managed and opportunistic. SlopeCharts was built to appeal to well-ordered, well-organized traders, and there are multiple ways to assemble, gather, and annotate both tickers and charts with information that will help you toward this goal.
Next Section
One vitally important method is Labels: that is, the ability to create, in an ad hoc fashion, and apply any labels you see fit to any particular ticker symbol. Several things should be noted about this feature:
- The labels are your own. When you begin using SlopeCharts, you will have no labels at all. You build them up, one by one, to your own liking;
- When you create labels, they should be “evergreen” in nature. In other words, some good label choices might be “Biotech Stocks”, “Local Companies”, “Long-Term Uptrend”, “Retail Stock”, and so forth. A label such as “Good short this week” would not be useful (although you are obviously at liberty to create and use any labels you like);
- The label(s) you apply to a given ticker symbol will adhere to that symbol no matter where it is. By way of contrast, if you “Tag” the symbol AAPL in a particular watch list, it will be tagged in that instance only, even if AAPL appears in other lists. However, if you attach the label “High-Tech Megacap” to AAPL, this label will always be present with the AAPL ticker, no matter which watchlist it is in.
Next Section
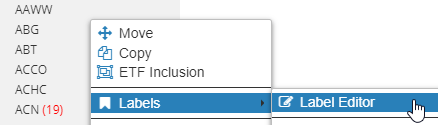
The first step, then, is to actually create some labels to use. When you right-click on a ticker symbol, you will see the Labels menu. The top item in the sub-menu is Labels Editor. Click on that to invoke the Labels Editor dialog box.
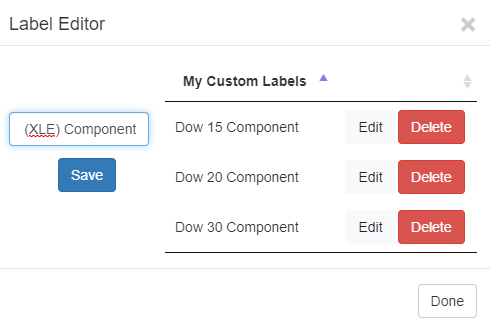
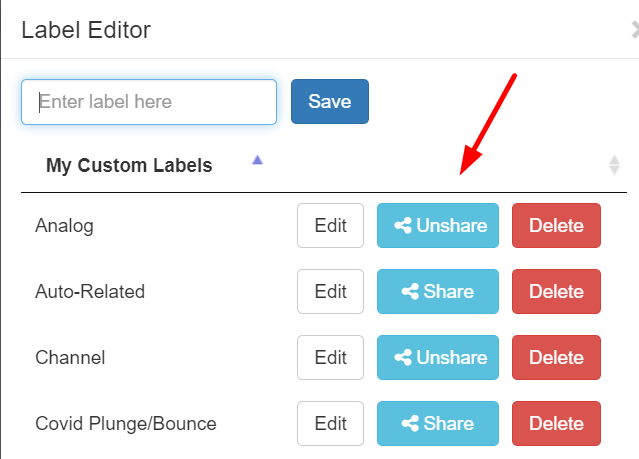
Using the editor is easy. There are three functions you can perform here:
- You can enter a new label in the text entry box on the left side of the box and click the Save button;
- For an existing label, you can click Edit. Its text will appear in the entry box, and you can modify it and click Save to rename that label;
- If you want to remove a label (which will obviously remove that designation from any tickers using it), click Delete.
Therefore, when you first go to this dialog box, you might want to enter a series of labels that you believe will be useful to you. Unlike the items shown below, the labels needn’t be confined to denoting if a ticker belongs to a particular group.
Next Section
For instance, you might create a label called Head & Shoulders and use that to mark every ticker in which a well-formed H&S pattern has taken place, so that you can quickly hone in on the handful of tickers you have marked in this way and save yourself the time of trying to mine hundreds of symbols to re-discover what you already have seen.
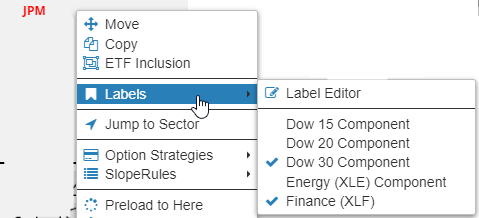
Once you have some labels to use, you can apply them to any ticker symbols. (As you begin to use this feature, you will probably find yourself stopping frequently to create new labels that had not occurred to you before). To assign one or more labels to any given symbol, right-click on the symbol and choose them from the list of alphabetically-ordered labels you have created. When you choose any label, a checkmark will appear next to it. Below, for example, JP Morgan (symbol JPM) has been assigned both the Dow 30 Component and the Finance labels.
Next Section
Over the course of time, you will create a multitude of labels and perhaps assign appropriate labels to hundreds of tickers. The more tickers you label, the more useful this feature becomes, because you will easily be able to sift through tickers in the future.
Perhaps you want to see all the finance stocks in the S&P 100, or all the real estate stocks with high daily volume, or Chinese technology stocks. You can swiftly winnow down your list to only the items you want to see as long as you put the work in to label your own tickers in a manner you find useful.
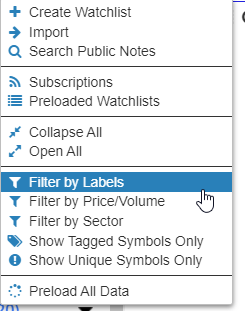
When you get to the point that you actually want to filter based on the labels you have created, click on the Watch Lists menu at the top of the data panel. You will see a menu like the one below, and you can choose Filter by Labels.
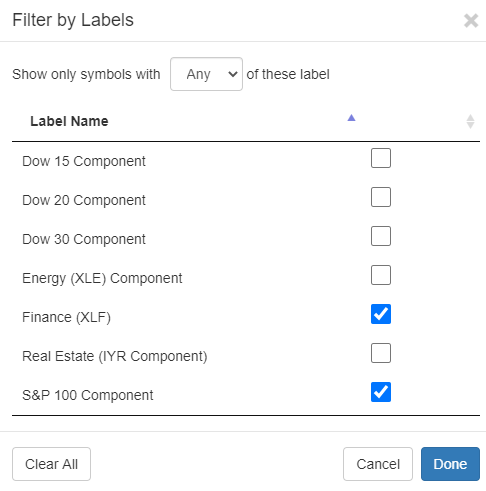
This, in turn, shows you a new dialog box with all of your custom-created labels. You can choose one or more of these. There is a very important distinction at the top of the screen which lets you select, from a dropdown menu, whether you want to filter based on Any or All or None of the labels.
This is self-descriptive, but to be clear, an “Any” choice is going to reveal more symbols than an “All” choice, because filtering based on all the chosen items (assuming more than one has been selected) is by definition going to be more restrictive. If you want to see the symbols that specifically do not have the labels you have checked off, you would choose “None”.
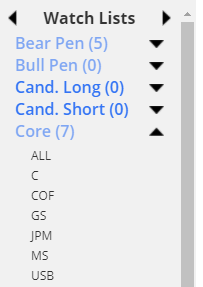
Once the filter is applied, any symbols that don’t meet the criteria are hidden. Here, for example, the “Core” watch list, which has almost 500 symbols, now merely shows the seven which, as dictated above, have symbols labeled as being a S&P 100 component as well as a financial stock.
Next Section
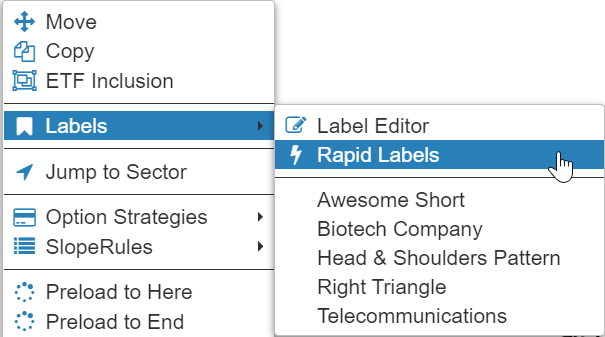
If you have a large number of ticker symbols upon which you want to apply labels, it can be extremely time consuming. Using the mouse and the menus to apply a label to a ticker from time to time is perfectly good, but if you want to do them “en masse“, it can be extraordinarily tedious. We thus created a faster means to accomplish this: Rapid Labels.
To use this feature, choose this item by right-clicking any ticker symbol:
When you do, SlopeCharts will load into memory however many hundreds of symbols you follow from all of your watch lists and put them into an alphabetically-sorted, scrollable list. That will appear on the left side of the dialog box. On the right side will be all of the labels you have created (for this example, there are just a few custom labels).
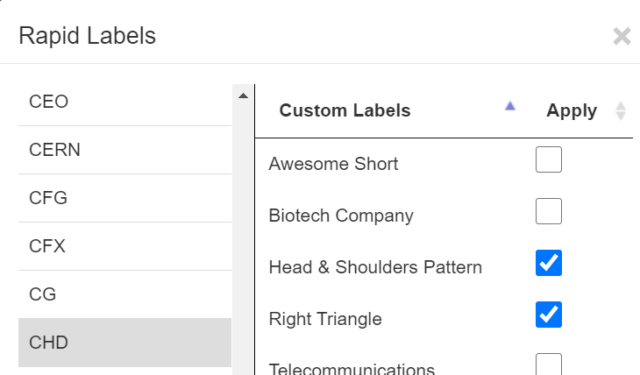
All you do at this point is use the Up and Down arrows on your keyboard to move up and down the list of ticker symbols. As you do, the chart will load in the background. To apply any labels to that symbol, just check the checkbox(es) you want, and they will be instantly applied.
In this manner, you can go to a symbol, check some labels, press Down to go to the next symbol, check some labels, and so forth. This is vastly more efficient than the normal method.
Because the usefulness of labels is directly tied to how many labels you have assigned, it is well worth your while to take the time to go through your symbols and label them to your liking. You will only have to do it once, and henceforth you can just “fine tune” your symbols as other labels occur to you or as new symbols are added to your watch lists.
When you are using the Rapid Labels function, you may find that you want to use a label that doesn’t exist yet. In this case, you would have had to (1) leave Rapid Labels (2) go into the Labels Editor (3) added the new label (4) left the Labels Editor (5) gone back into Rapid Labels (6) scroll down and find out where you left off (7) add the just-created label.
This would be a big waste of your time.
There is a much faster way, however. Just type it in! Not only is it created instantly, but it is applied to your current symbol. You do this at the lower-right portion of the Rapid Labels dialog box:
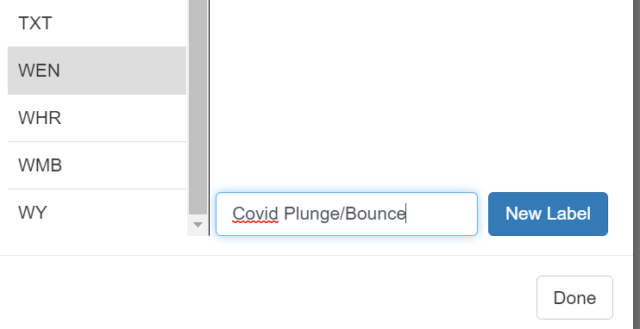
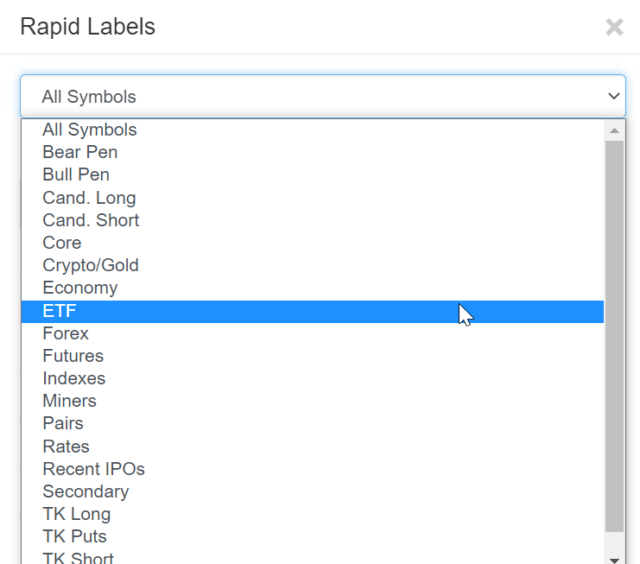
In addition, you aren’t required to go through the entire gargantuan list of all your symbols. You are welcome to do so, and it is the default choice, but you can also hone in on a specific watch list whose symbols you would like to focus upon by choosing it from the dropdown of your watch lists at the top of the dialog box.
Next Section
Another big time-saver is the ability to apply a given label to an entire watch list. This feature should be used with great care, because you don’t want to accidentally apply a label to a huge number of stocks only to realize you didn’t mean to do so.
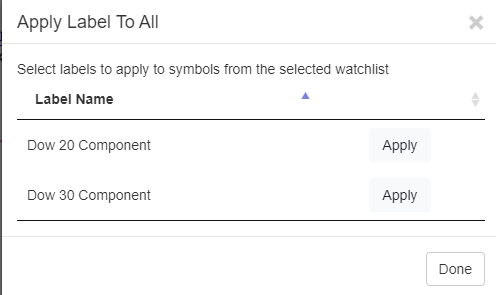
For example, assume you have built up a watch list called Biotechnology Stocks comprised of ninety different ticker symbols of such companies. Instead of going through, one by one, and applying the Biotech label to all 90 symbols, you could instead execute this in one fell swoop by choosing the Apply Label to All menu item when you right-click the watch list in question.
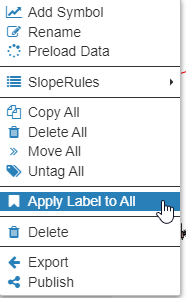
After you choose this, a new dialog box appears presenting you with all of your custom-made labels. If you click the Apply button, that particular label will be applied to every one of the watch list’s members. Again, take caution in using this, because any Apply button you click will execute this function swiftly, and it cannot be reversed.
Filtering by labels is just one of the ways you can filter your watch lists, and you can combine other filtration methods (such as filtering by price and volume, for instance) to further refine your prospecting.
Next Section
The ability to Share Labels is very similar to another feature in SlopeCharts, which is to Share Watch Lists. Even though the effect of sharing either of these is identical – — that is, giving others the ability to benefit from your own, and allowing you to benefit from theirs – – there are some subtle differences between sharing watch lists and sharing labels:
- Sharing watch lists is restricted to Gold and Platinum members; sharing labels is available to all SlopeCharts users (although it should be noted that being able to filter based on labels is a paid-member-only feature)
- A watch list is a collection of symbols under one name; labels, however, can be applied to symbols scattered among whatever watch lists you want
- The symbols that inhabit a watch list are, by their nature, associated with that list (such as a watch list of S&P 100 stocks). Labels, on the other hand, are far more flexible, and one ticker symbol could have ten, twenty, or even a hundred labels if you wanted it to.
Sharing a label is a cinch: in the Label Editor, just click the Share button for any label you want to share with your fellow Slopers.
After you click share, you can enter an optional description (which you are definitely encouraging to fill out, so that your fellow traders will have some idea what on earth your label is supposed to be about):
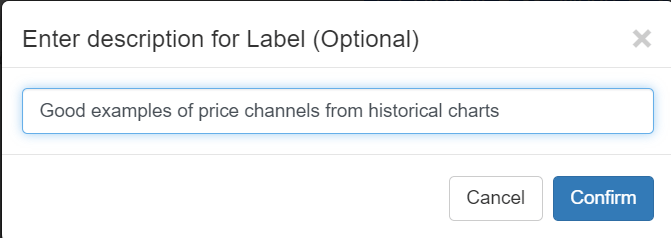
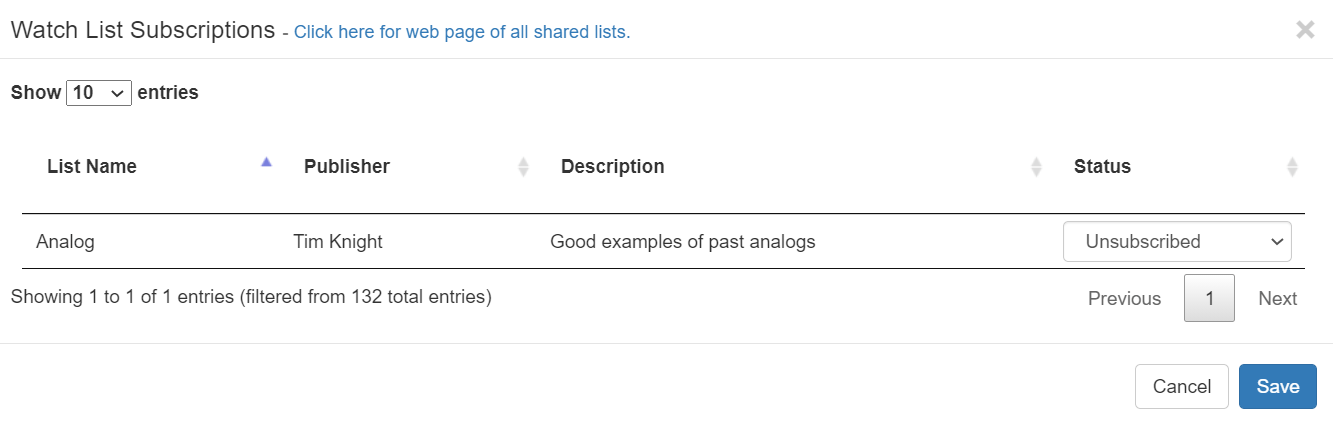
After you click Confirm, your shared label will be immediately available on the Shared Lists & Labels page. People can also access it by clicking the “Watch Lists” title in the upper-left portion of SlopeCharts and choosing Subscriptions from the menu.